Tired of Badly formatted forms and paid PDF Tools?
Learn how to easily fill in and sign PDFs using Adobe Acrobat with our simple, step-by-step guide.
.png)
How to Fill in a Form and Sign a PDF with Adobe Acrobat
In today's fast-paced digital world, the ability to sign documents electronically has become essential. At Peppermint iT, we understand the value of efficiency in your workflows. That’s why we’re excited to guide you through the simple process of filling out and signing PDFs using Adobe Acrobat. This tool makes it easy to handle your important documents without the hassle of printing and scanning. Here’s a straightforward guide to help you navigate the process.
Step 1: Prepare Your Document
Before you start, ensure you have your PDF document ready. If you received it via email (like Outlook), here’s what to do:
- Download the PDF:
- Right-click the attachment in your email.
- Select “Save As” to download it to your computer.
- Alternatively, you can drag the PDF file directly from your email into the Adobe Acrobat window. To make this easier, resize both your email and the Adobe window side by side so you can see them both.
Step 2: Access Adobe Acrobat Online
- Go to the
Adobe Acrobat Sign page. - Save it to your browser favourites for easy access in the future.
- Click on the “Select a file” button or drag and drop your PDF into the designated area.
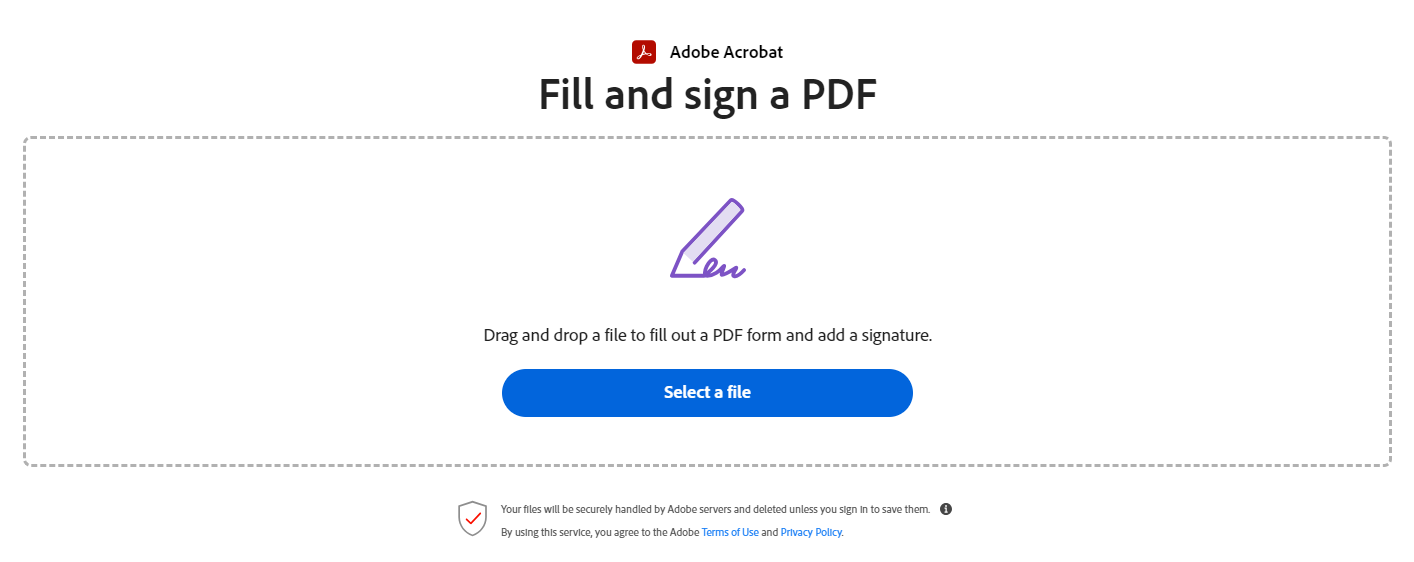
Step 3: Upload Your PDF
- Once you select your file, choose the PDF document you want to fill in and sign.
- After uploading, if you haven’t used Adobe before, you’ll need to sign up. Don’t worry, it won’t ask for a credit card—just your first name, last name, date of birth, and country. You only need to do this once. If prompted to sign up for a paid version, feel free to ignore that.
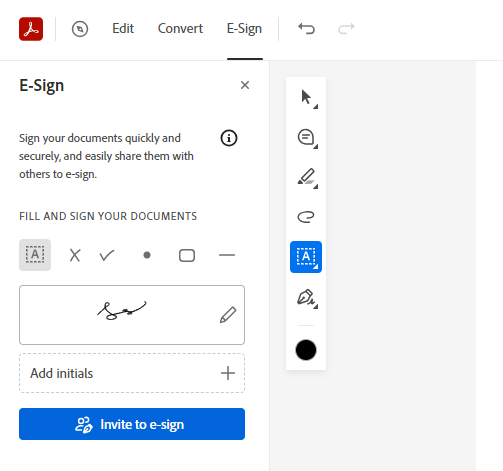
Step 4: Fill in the Form
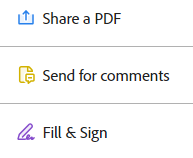
- After your document is uploaded, use the tools in the Sign panel to fill in any required fields.
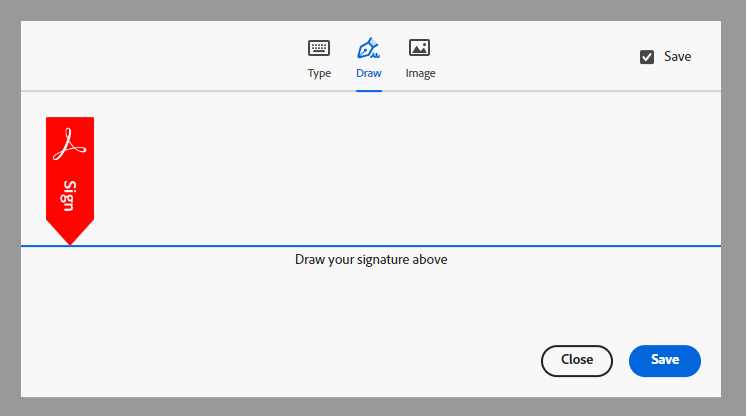
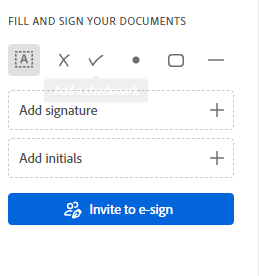
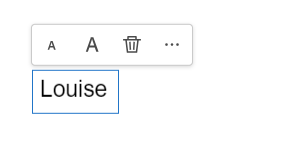
- To add your signature, select the signature option and choose how you’d like to create it—whether by drawing, typing, or uploading an image.
3. If you want to add text, an X box, or a tick box, use the tools in the top menu.
Step 5: Finalise and Download
After completing the form and adding your signature, you can then download your completed form or get a shareable link for online access, which you can send to others or keep for your records.

Important Note
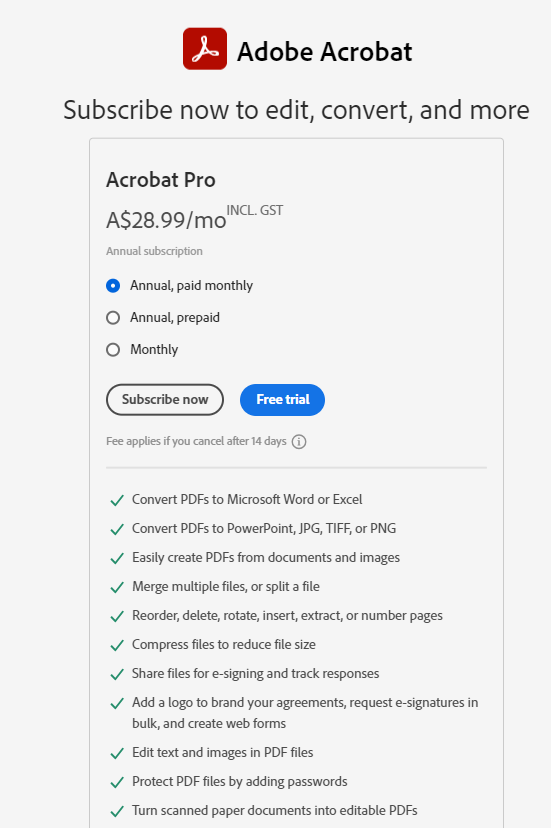
If you see an option encouraging you to subscribe to thefull version of Adobe Acrobat, remember that you do NOT need to sign up for this unless you want to edit PDFs, remove pages, add pages, or use any other premium features. If your only goal is to fill out a form, the free version is all you need!
Lastly, the free version mainly allows you to fill and sign documents, but if you want to send documents for signatures, you will be prompted to purchase a paid version.
Here’s a quick overview of what each version offers:
Using Adobe Acrobat to fill in and sign PDFs can really boost your efficiency and make managing documents a lot easier. With these steps, you’ll be able to handle your forms confidently and collaborate smoothly.
At Peppermint iT, we’re here to help you along the way. If you have any questions or need a hand, don’t hesitate to reach out—we’re always happy to assist :)